
 Logo
Logo Line drawing
 Clipart
Ask for the original vector first
If the logo was ever designed, an AI, EPS, PDF or SVG exists somewhere. Tracing is for when it cannot be found.
Drop a PNG, JPG or any other bitmap and get a scalable vector in about a second. Colours and gradients are detected for you, the background comes off with one tick, and the whole vectorizer runs in your browser — free, no account, no watermark.
Drop your image here
PNG · JPG · GIF · WebP · BMP · TIFF · PSD · HEIC · PDF — up to 20 MB
Choose imageor paste with Ctrl+V
Raster vs. vector
Pixels have no shapes. A vectorizer has to find them.
A raster image — PNG, JPG, GIF, BMP, a screenshot, a scan — is a grid of coloured dots. Enlarge it and the dots get bigger; that is the blur you see when a small logo is stretched onto a banner. A vector image describes the shapes instead: this outline, filled with this colour, that curve, filled with that gradient. Because shapes are mathematics, a vector renders razor-sharp at any size, from a favicon to a billboard, and usually in a fraction of the file size.
Converting from one to the other is called tracing (or vectorizing, or raster-to-vector conversion). AnyToSVG does it in four steps, all in your browser: it finds smoothly shaded regions and fits each one with a linear or radial colour model; it groups the remaining pixels into the handful of colours the artwork really uses; it cleans up anti-aliasing halos and specks; and it hands one mask per colour to Potrace, the tracer behind Inkscape's Trace Bitmap, which fits smooth Bézier curves to each outline. The raster vs. vector guide walks through it with pictures.
The result is an SVG — the vector format every design tool, browser, cutting machine and print shop reads. One <path> per colour, real gradients for shaded areas, coordinates in the original pixel size, nothing else in the file.
What vectorizes well
Honest expectations save you a redraw.
Flat-colour artwork — logos, icons, clipart, cartoons, lettering, stamps, silhouettes, QR codes, diagrams — vectorizes almost perfectly. A logo typically becomes 2 to 8 shapes in a few kilobytes and is indistinguishable from the original at any size. This is the case people usually mean by "logo to vector", and it is the case the auto-detection is tuned for.
Line drawings, scans and signatures vectorize best in black-and-white mode: the vectorizer computes a threshold that separates ink from paper and traces everything darker as a single path on a transparent background. Move the threshold to catch faint lines, raise Remove specks to drop paper grain.
Shaded artwork — a glossy icon, a gradient background, a two-tone ribbon — is where most vectorizers fall apart into stepped colour bands. AnyToSVG detects smoothly shaded regions before quantising and writes each one as a real <linearGradient> or <radialGradient>: one shape, no bands, editable in Illustrator, Inkscape or Figma like any other gradient.
Photographs vectorize into a stylised illustration: up to 32 flat colours plus gradients for smoothly lit areas. Skin becomes a few tones, hair becomes a silhouette, texture disappears. That is exactly right for stencils, screen-print separations, pop-art portraits and laser engraving, and exactly wrong for "making a photo bigger" — for that you want an AI upscaler, not a vectorizer.
Output formats
Every vector editor converts between vector formats losslessly.
The vectorizer produces SVG, plus a PNG rendered from the vector at 1×, 2× or 4× and the SVG code on your clipboard. If a print shop, an embroidery digitiser or a CNC program asks for another vector format, open the SVG in a vector editor and Save as:
Because all of these are vector-to-vector conversions, nothing is lost on the way; the tracing step is the only one that matters for quality, and that is the one you can check in the preview before downloading.
How it works
Three steps, and the second one is optional. No palette wizard, no model selection, no credit counter.
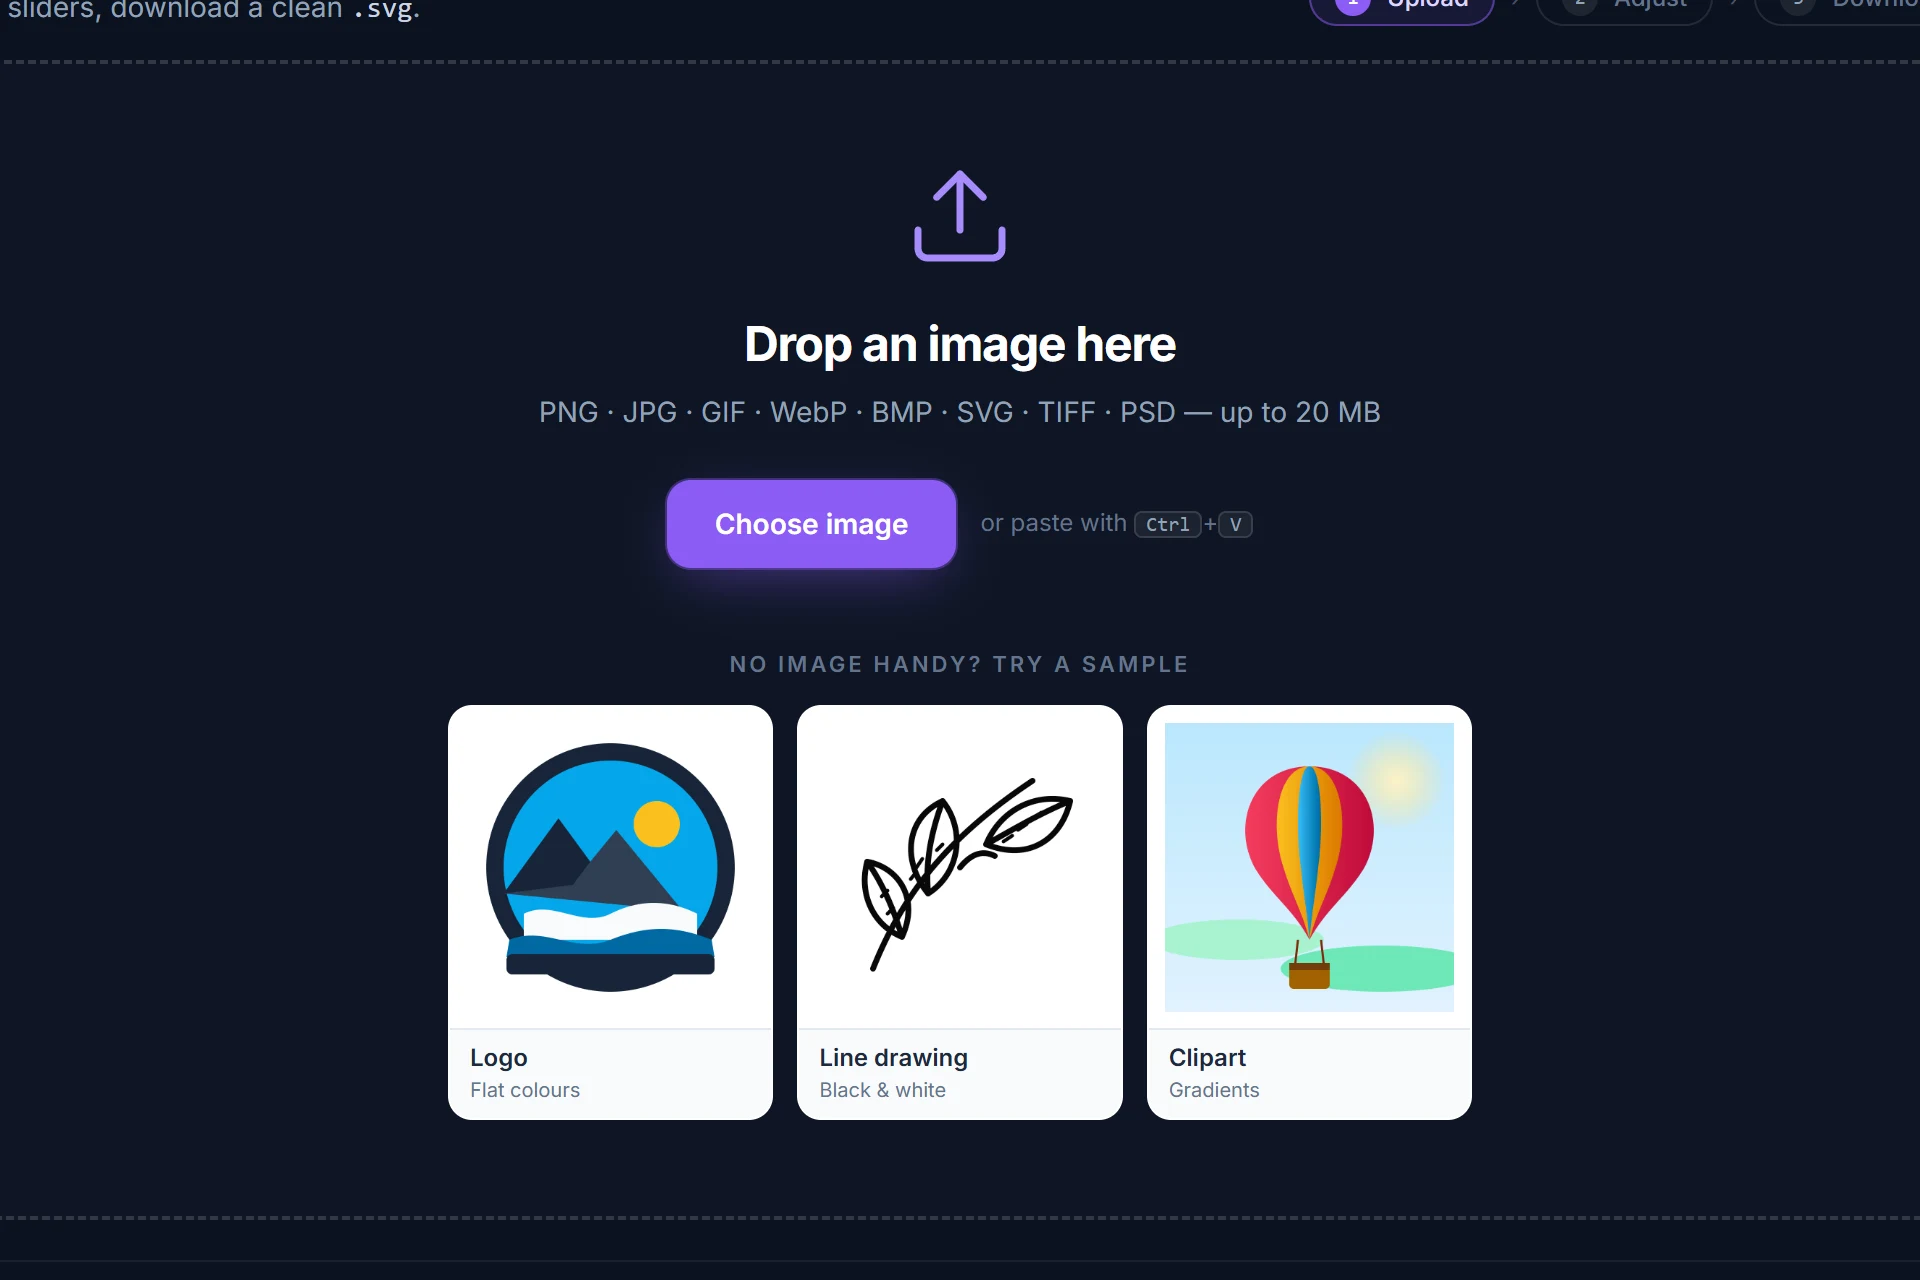
Drag it onto the page, pick it from disk or paste it with Ctrl+V. It is analysed and traced immediately — colour or black-and-white, colour count and threshold are detected for you.
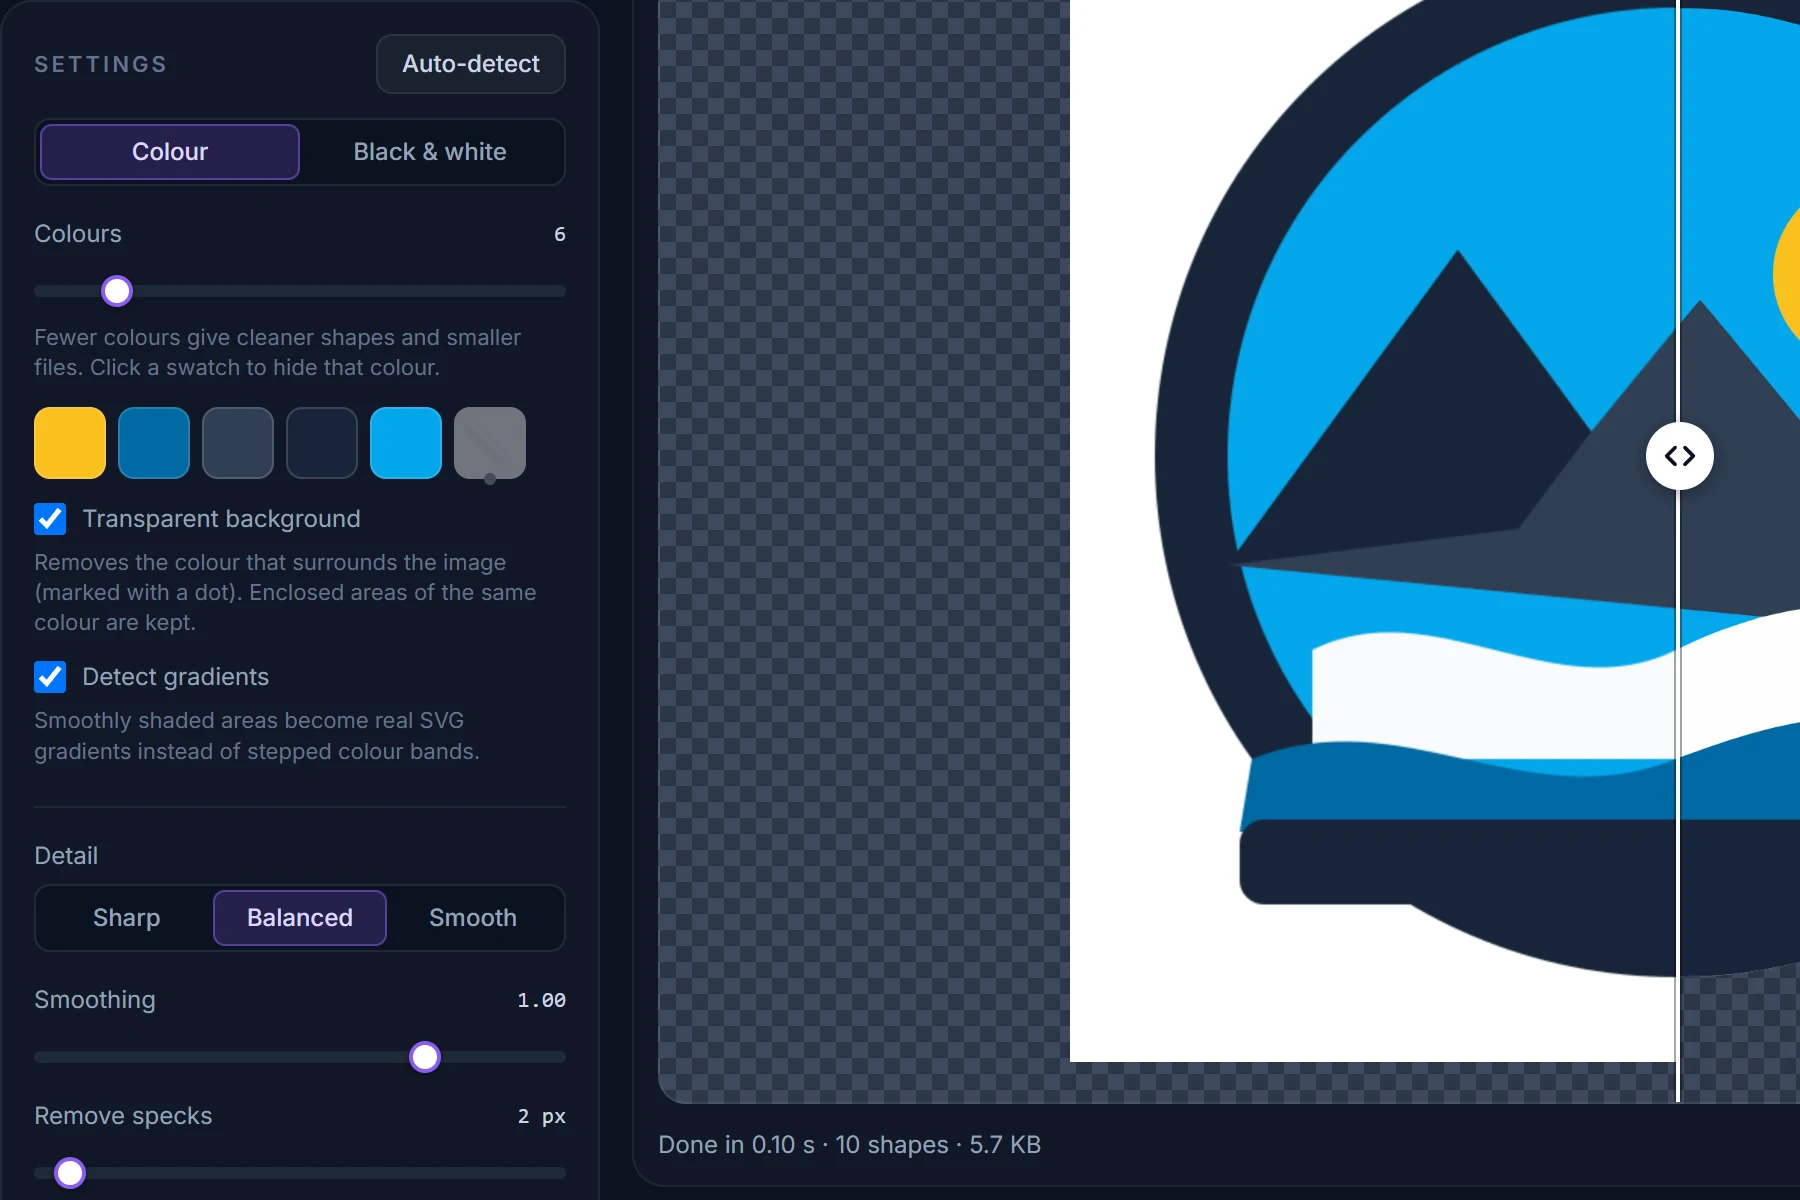
Drag the divider between original and SVG, zoom into an edge. Change the number of colours, hide a colour, make the background transparent; every change re-traces in a fraction of a second.
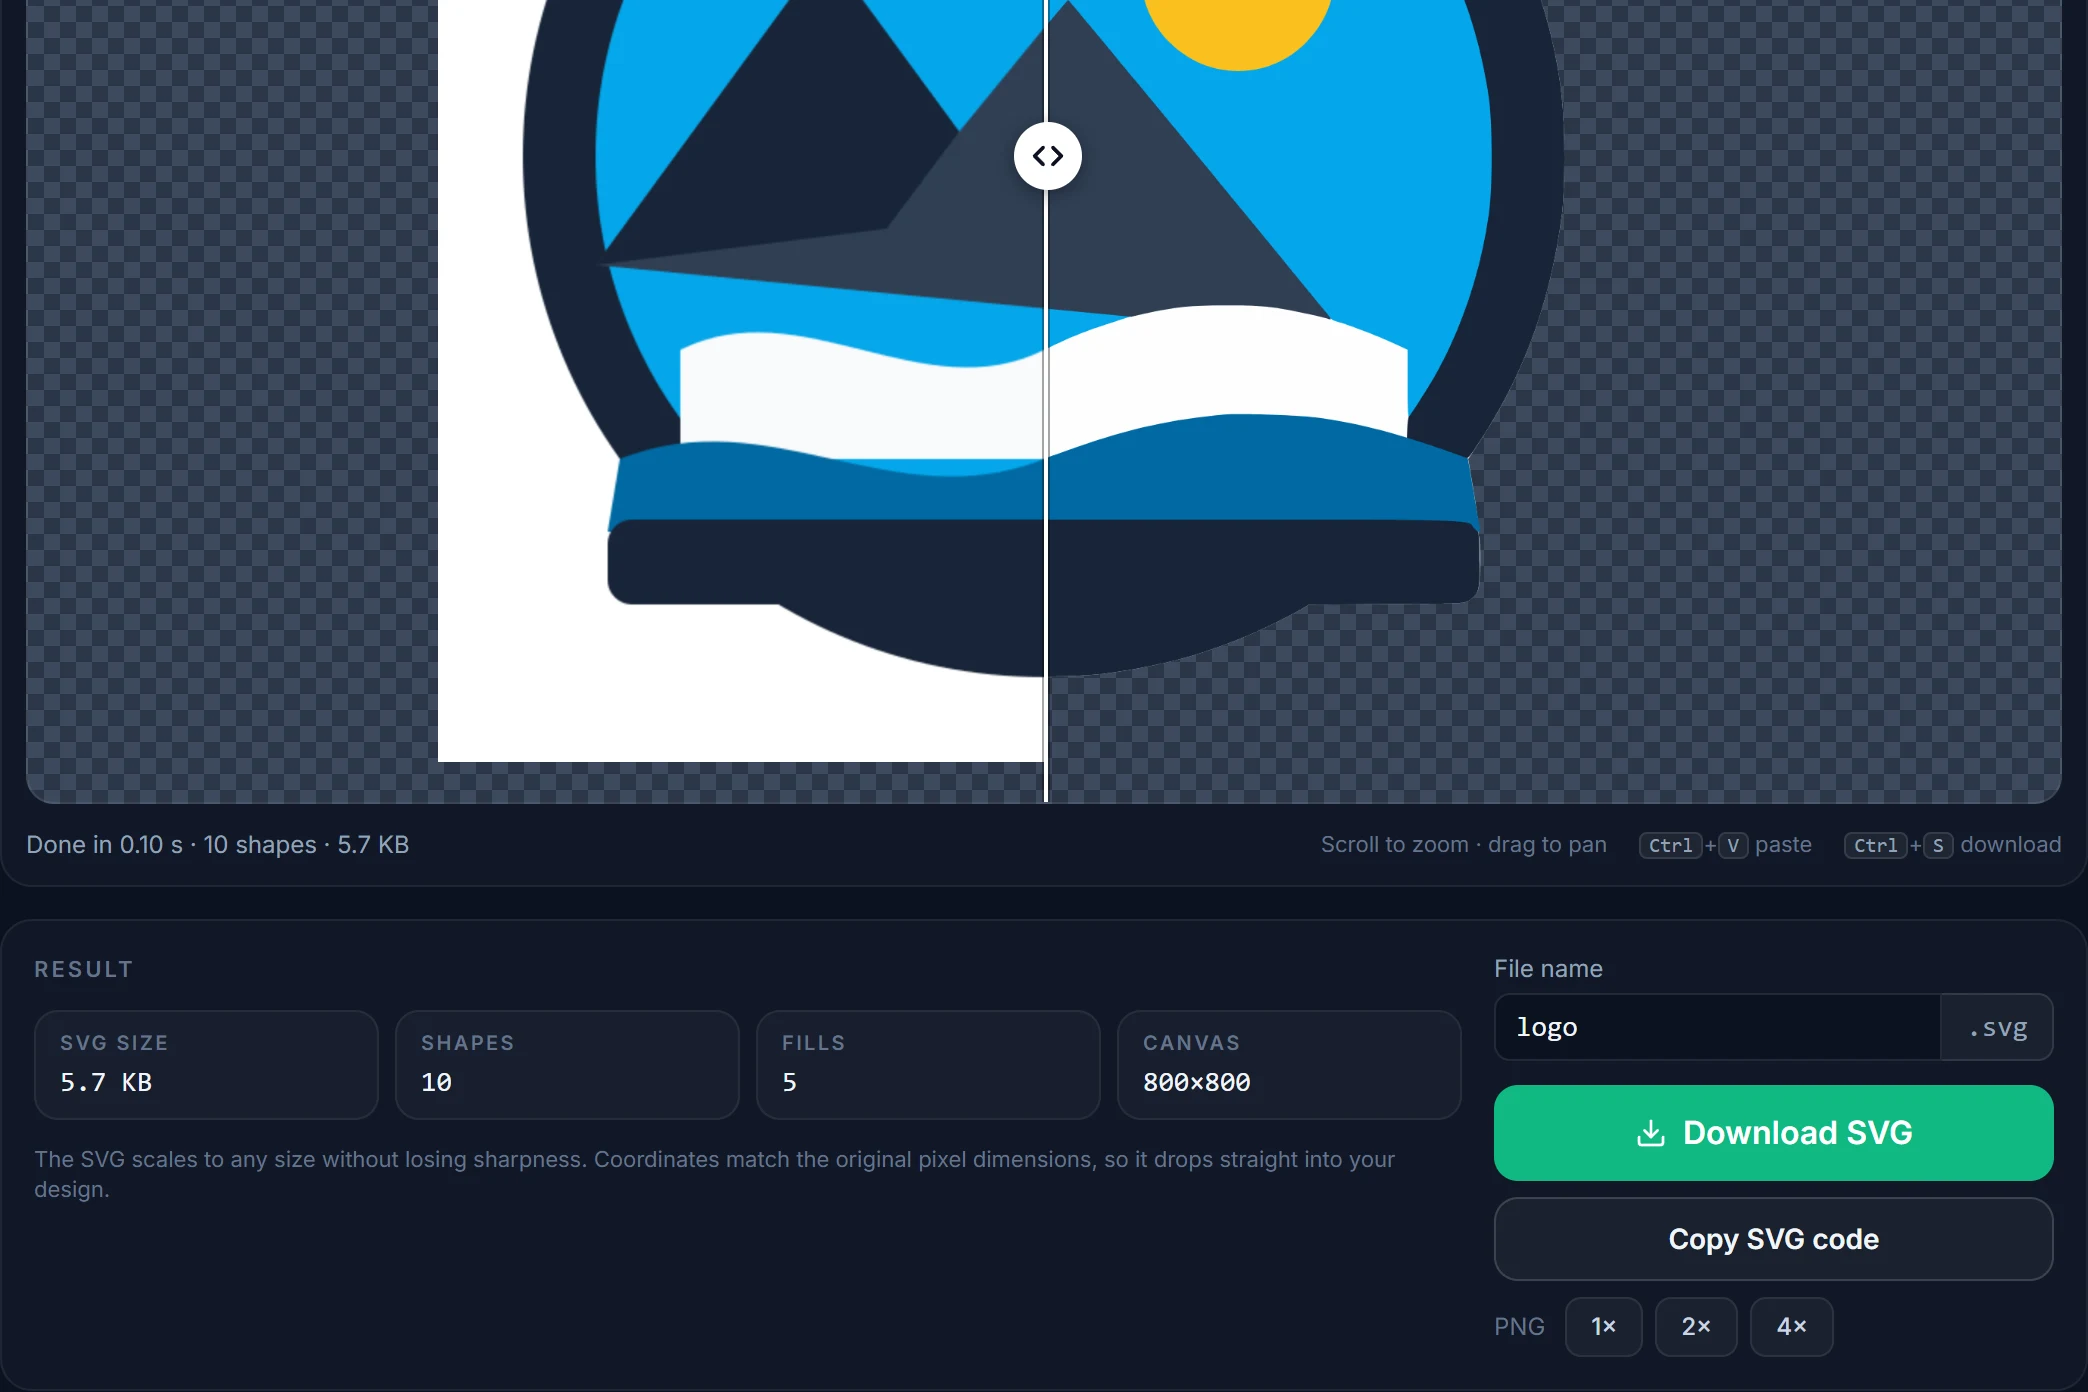
Save the SVG, copy its code, or render a PNG at 2× or 4×. Coordinates match the original pixels, one path per fill, nothing else in the file.
Tips
If the logo was ever designed, an AI, EPS, PDF or SVG exists somewhere. Tracing is for when it cannot be found.
A 1000-px PNG with transparency is ideal. A small JPG works, but expect rounder curves and a little cleanup.
Auto-detect reads the colour count from the image. Lowering it to what the design really uses is the single most effective adjustment.
One path, transparent background, an adjustable threshold. Raise Remove specks for paper grain.
Turn Detect gradients off for a true stencil look, on for a smoother poster look.
Scroll to zoom, drag the divider between original and vector. What you see is exactly what the SVG contains.
Questions
Short answers here; the full FAQ covers formats, quality settings, photos and privacy.
Drop the image on this page or open the converter and choose the file. It is analysed and traced in your browser within a second; check the preview, adjust the colour count or background if you like, and download the SVG. There is no account, no credit system and no watermark.
A raster (bitmap) image stores a fixed grid of pixels and blurs when enlarged. A vector stores shapes as curves and stays sharp at every size. Vectorizing rebuilds the shapes from the pixels; see the raster vs. vector guide.
Yes, with the caveat that the result is a stylised poster — up to 32 flat colours plus real gradients for smoothly lit areas — not a sharper photograph. It is ideal for stencils, screen printing, pop-art portraits and engraving.
Use the largest PNG or JPG of the logo you can find, drop it in, let auto-detect pick the colour count, tick Transparent background and download the SVG. The logo to SVG guide covers source files, colour count, edges and checking the result before print.
SVG directly. EPS, PDF, AI and DXF are one Save as away in Inkscape (free), Illustrator, Affinity Designer or CorelDRAW; those conversions are lossless.
No. PNG, JPG, GIF, WebP and BMP files are decoded and traced entirely inside your browser. Only TIFF, PSD, HEIC and PDF — formats browsers cannot open — are converted to PNG on our server in memory and discarded at once. See the privacy policy.
AI-based vectorizers run on servers, need an upload and an account, and usually charge per image for full-size output. AnyToSVG uses a classical tracer (Potrace) plus its own colour and gradient analysis, runs in your browser in under a second, and is free. For flat-colour artwork the results are equivalent; for photos both produce a stylised illustration.
More converters
Same engine, same privacy — one page per input format so you can bookmark the one you need.
Free, in your browser, nothing to install and nothing uploaded. The SVG is next to your original in about a second.